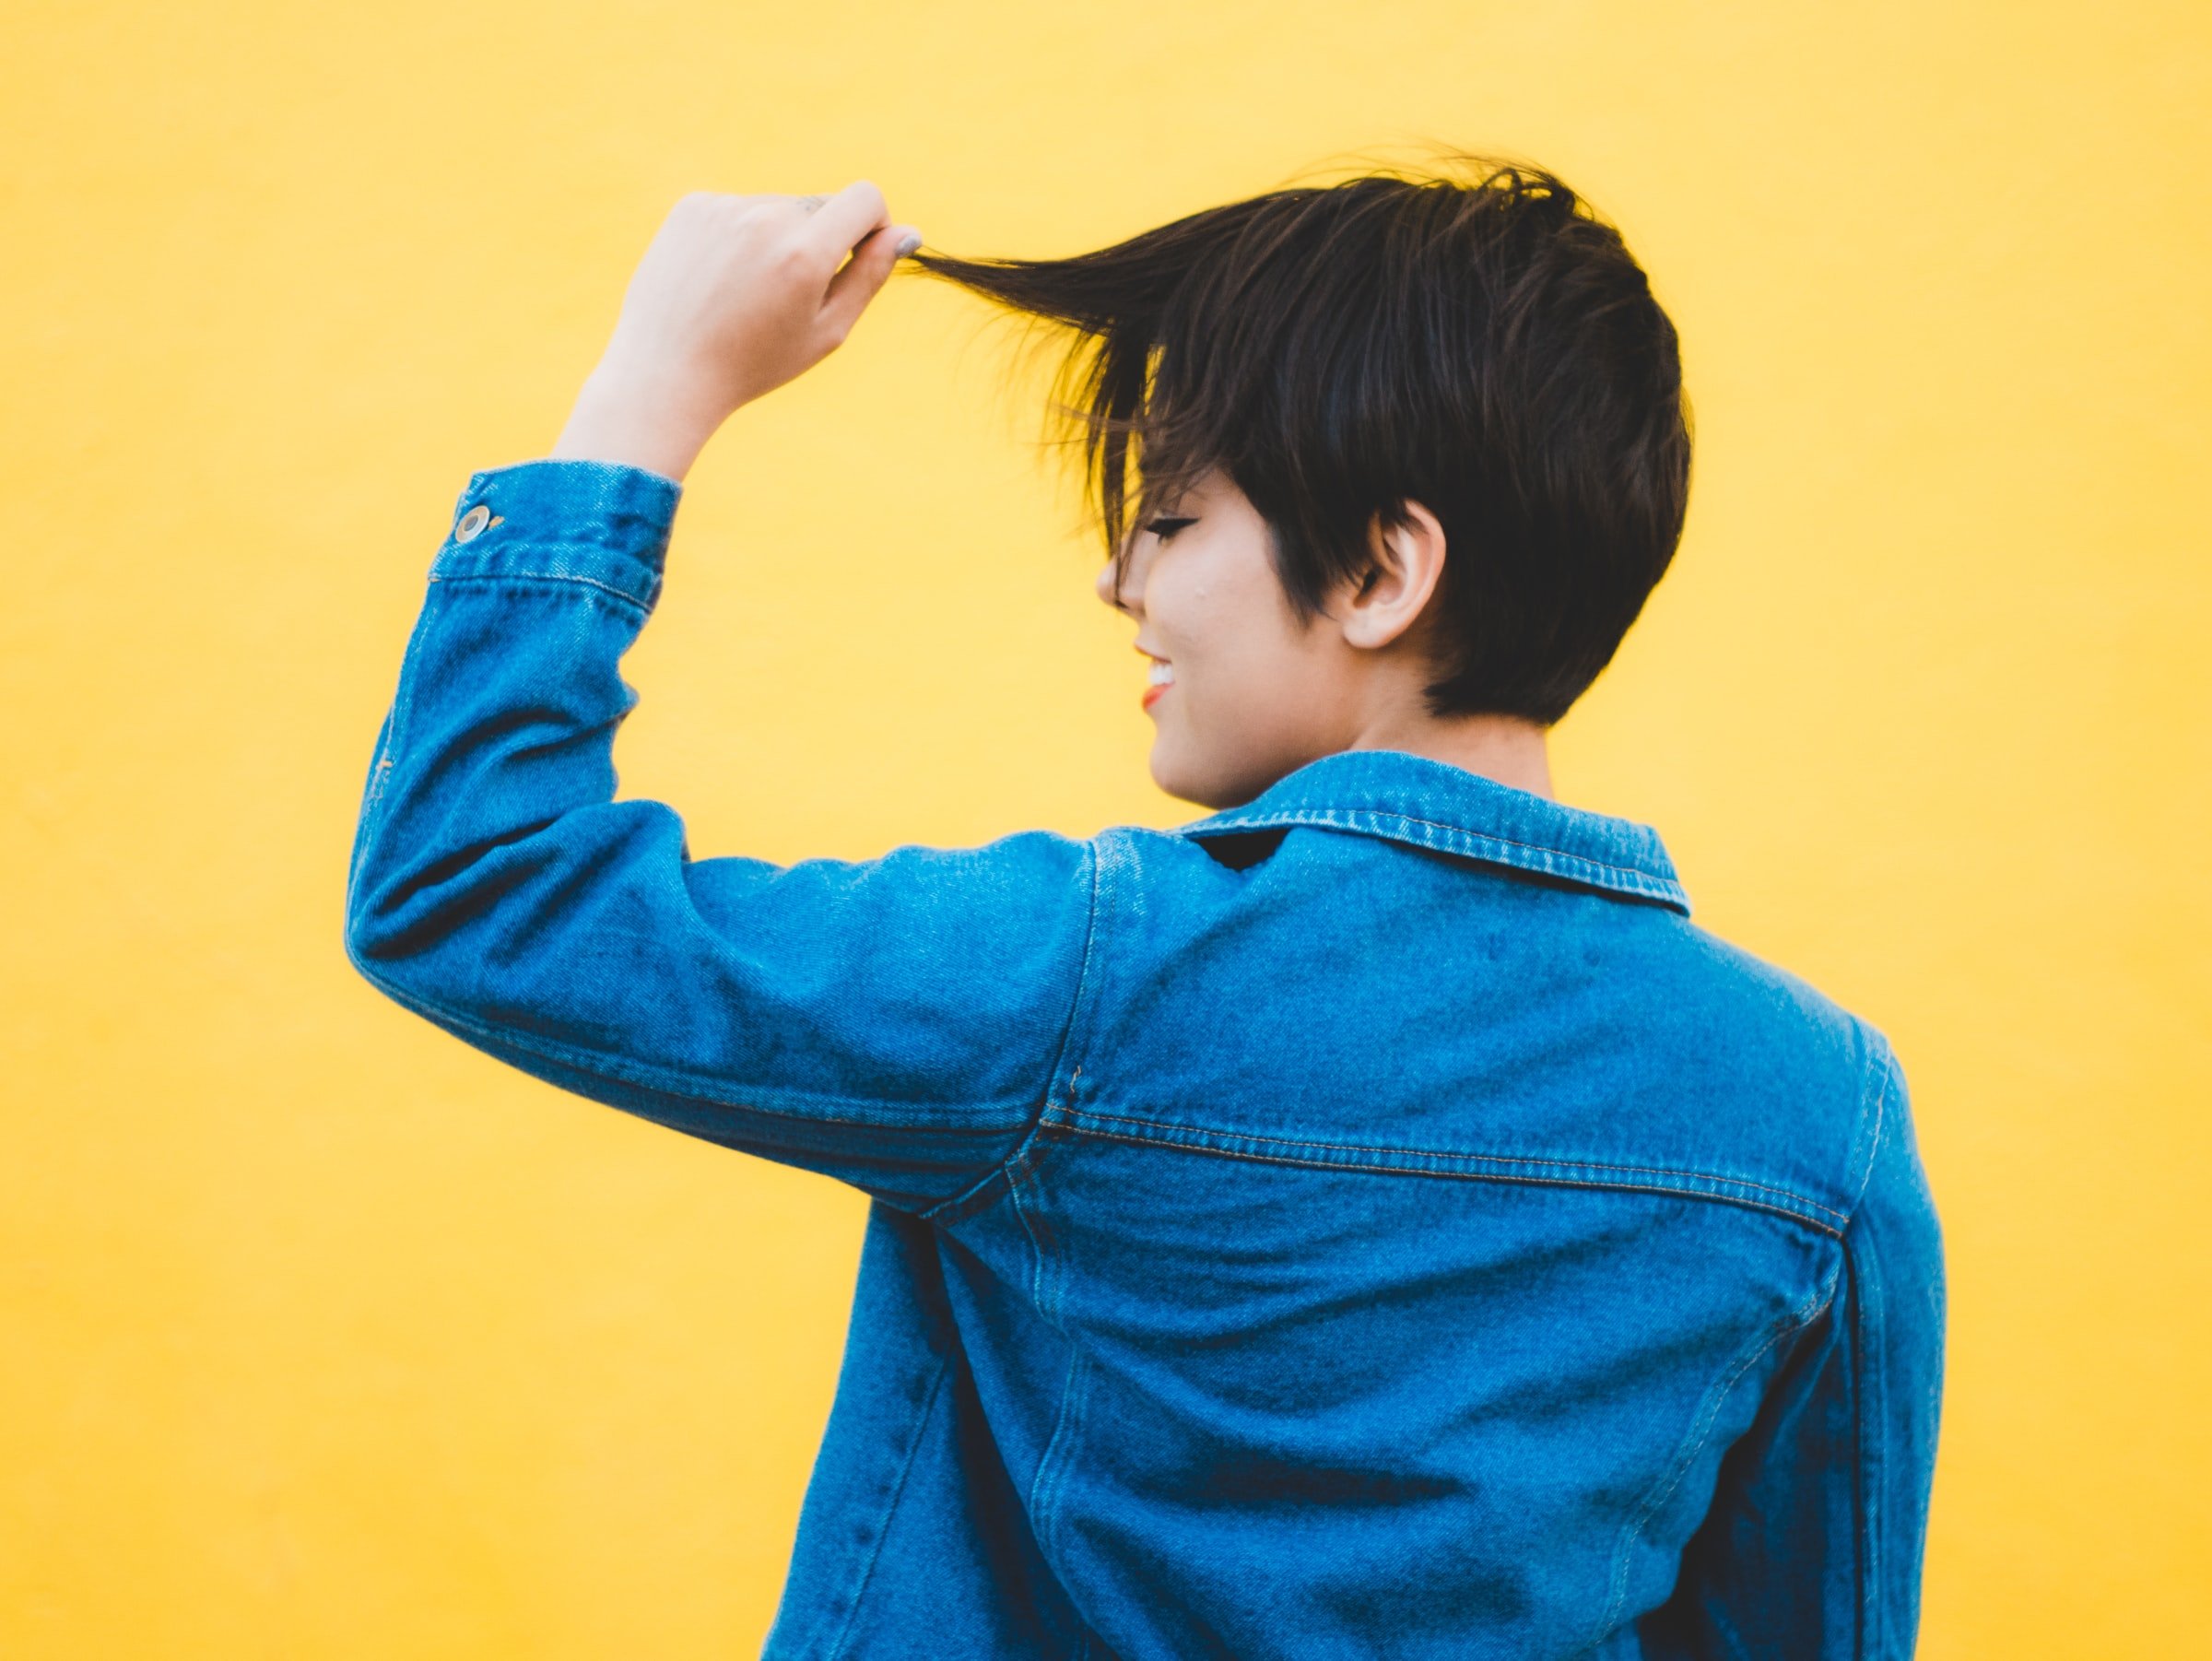
How to blow dry your hair
When it comes to hair, a style switch-up is as easy as a flick of the wrist. No matter the length or hair type you have, with a core arsenal of tools and techniques, you can bring your blow dry game up to photo-ready in minutes.
So what are these fix-all techniques? We’ve put together our top tips for luscious, blow-dried locks.
The At Home Blow Dry
Always wanted to know how your stylist creates that killer blow dry? Look no further. You can achieve a salon-worthy blow dry at home in minutes, regardless of the length of your hair.
Step One - Lather and Rinse
The key to any good blow dry is, of course, beginning with clean, damp hair. Choose a volumising shampoo, such as our Elvive Fibrology Thickening Shampoo, to give your strands a little extra oomph later in the process. For now, massage your shampoo into a rich lather (treat yourself to a little scalp massage, too) and then rinse. Apply your Elvive Fibrology Thickening Conditioner and let it soak for a few minutes before rinsing.
Step Two - Wait Until Your Hair Dries to Damp
Use a cotton t-shirt or soft towel to soak up any excess water from your hair. When your hair is just about damp, you’re ready to go.
Step Three - Prime Your Strands
Protecting your strands with a good heat protector is key to a sleek style – you don’t want to dry your ends out! Our Elnett Heat Protect Spray Smooth Blow Dry protects your hair and also helps cut down on drying time. What could be better? To use, hold your heat protection spray away from your hair and spritz evenly.
Step Four - Choose the Right Brush
It’s best to select your brush based on the style you’d like to achieve. A flat paddle brush, for example, will help to ensure smooth, straight drying. For more volume, try a round brush – this can add some serious body to your style.
Your brush size should also be determined by the length of your hair. Short hair is more easily managed by a smaller brush, whilst a bigger brush can help speed up the drying time on long locks.
Step Five - Blow Dry from the Roots
To actually dry your hair, work in sections from the back of your head to the front. Always begin at the roots. Once those are dry, work your way down your strands.
TIP: If your hair dryer comes with nozzle attachments, use them! They help to evenly distribute heat for a sleeker style.
How to Blow Dry Straight Hair
Few of us are born with naturally pin-straight hair. Fortunately, if that’s the look you’re longing for, there’s an easy blow dry solution to whip your strands straight into shape.
Step One - Detangle
To create the sleek, smooth blowout of your dreams, begin with clean hair and use the right shampoo and conditioner for your hair type. Using a detangling brush or wide tooth comb, gently work out any knots or tangles in your hair.
Step Two - Section Your Hair
Separate your hair into four sections – two on the top of your head along your natural parting, and two below – and clip securely. This will help keep your hair tame and tangle-free as you begin to dry your hair.
Step Three - Dry your Hair
Beginning with the back sections, blow dry your hair from root to end using a flat paddle brush. Make sure your roots are dry before moving on to the ends of your hair. Work through all four sections of hair.
Et voila! Runway-worthy straight hair in no time at all.
How to Blow Dry Curly Hair
You may be thinking: curly hair + blow dry = frizz but, unlike other styles, the right tools make all the difference.
For a perfect curly blow dry, you’ll need:
● Ceramic or tourmaline blow dryer – It may be specific, but choosing a dryer like these will seriously reduce frizz formation. Bonus points for buying one with a diffuser attachment. These UFO-shaped add-ons can help shape your curls and decrease the threat of frizz even further.
● Shampoo, conditioner, and a hair mask formulated for curly hair
● Hair mousse, such as our Elnett Satin Crème de de mousse
So, let’s get started!
Step One - Start with Clean Hair
Clean and condition your curly hair with the right formula for your hair type. As often as you can, shower with lukewarm water. It’s far less drying on your strands, which help to reduce frizz. Twice a week, up the conditioning ante by swapping your daily conditioner for a hair mask, such as our Elvive Extraordinary Oil Masque, which nourishes your hair by targeting the driest ends.
Step Two - Remove Excess Water from your hair
Use a cotton t-shirt to blot your hair, removing any extra water. Be gentle, though – you don’t want to disturb your natural curl pattern.
Step Three - Use Leave-in Conditioner
Apply a small dollop of leave-in conditioner to help lock in your hair’s moisture.
Step Four - Add Your Mousse
After your leave-in conditioner has had a few minutes to work its magic, apply Elnett Satin Crème de de mousse from your roots to your tip in sections. This will help to give your curls more definition and shape. Shake your hair out to re-define your natural curl pattern.
Step Five - Diffuse your Roots
With the diffuser attachment on your hair dryer, begin to dry your roots. On a low or medium setting, flip over your hair and begin at the nape of the neck. The diffuser prongs should be lightly touching your scalp.
Work in slow, gentle circles and make sure your ends are not trapped in the bowl of the diffuser – they can become dried out and frizzy this way. Repeat the process until your hair is about 80% dried and then air dry the rest.
And that’s it! Curly, frizz-free blow-dried hair at home.
This advice is from L’Oreal and was featured on their website.


